Quick walkthrough on how to install Virtualenv on Mac OS two different ways. This is an easy way to manage Python and it's dependencies in your projects.
TL;DR
Quick walkthrough on how to install Virtualenv on Mac OS two different ways. This is an easy way to manage Python and it's dependencies in your projects.
Install Virtualenv with pipx
pipx install virtualenvInstall Virtualenv with pip
python -m pip install --user virtualenvWhy Virtualenv?
When working on multiple Python projects they will not always be running on the same version of Python. So a better way to manage the version of Python you are using is by creating a Virtual Environment.
Virtual Environments are isolated from the rest of your computer and are only responsible for each individual project's Python version and the dependencies of your project.
Virtualenv is one of several tools that solves this problem.
Mac OS Python vs. Python3
Mac OS comes with a version of Python pre installed already usually 2.7.x or something of the like.
As Python2.7 is no longer supported by the maintainers of Python so going forward you are going to want to use some sort of Python3.
You can download the latest version of Python here.
You can find out which version you have by running the following command in your terminal.
python --version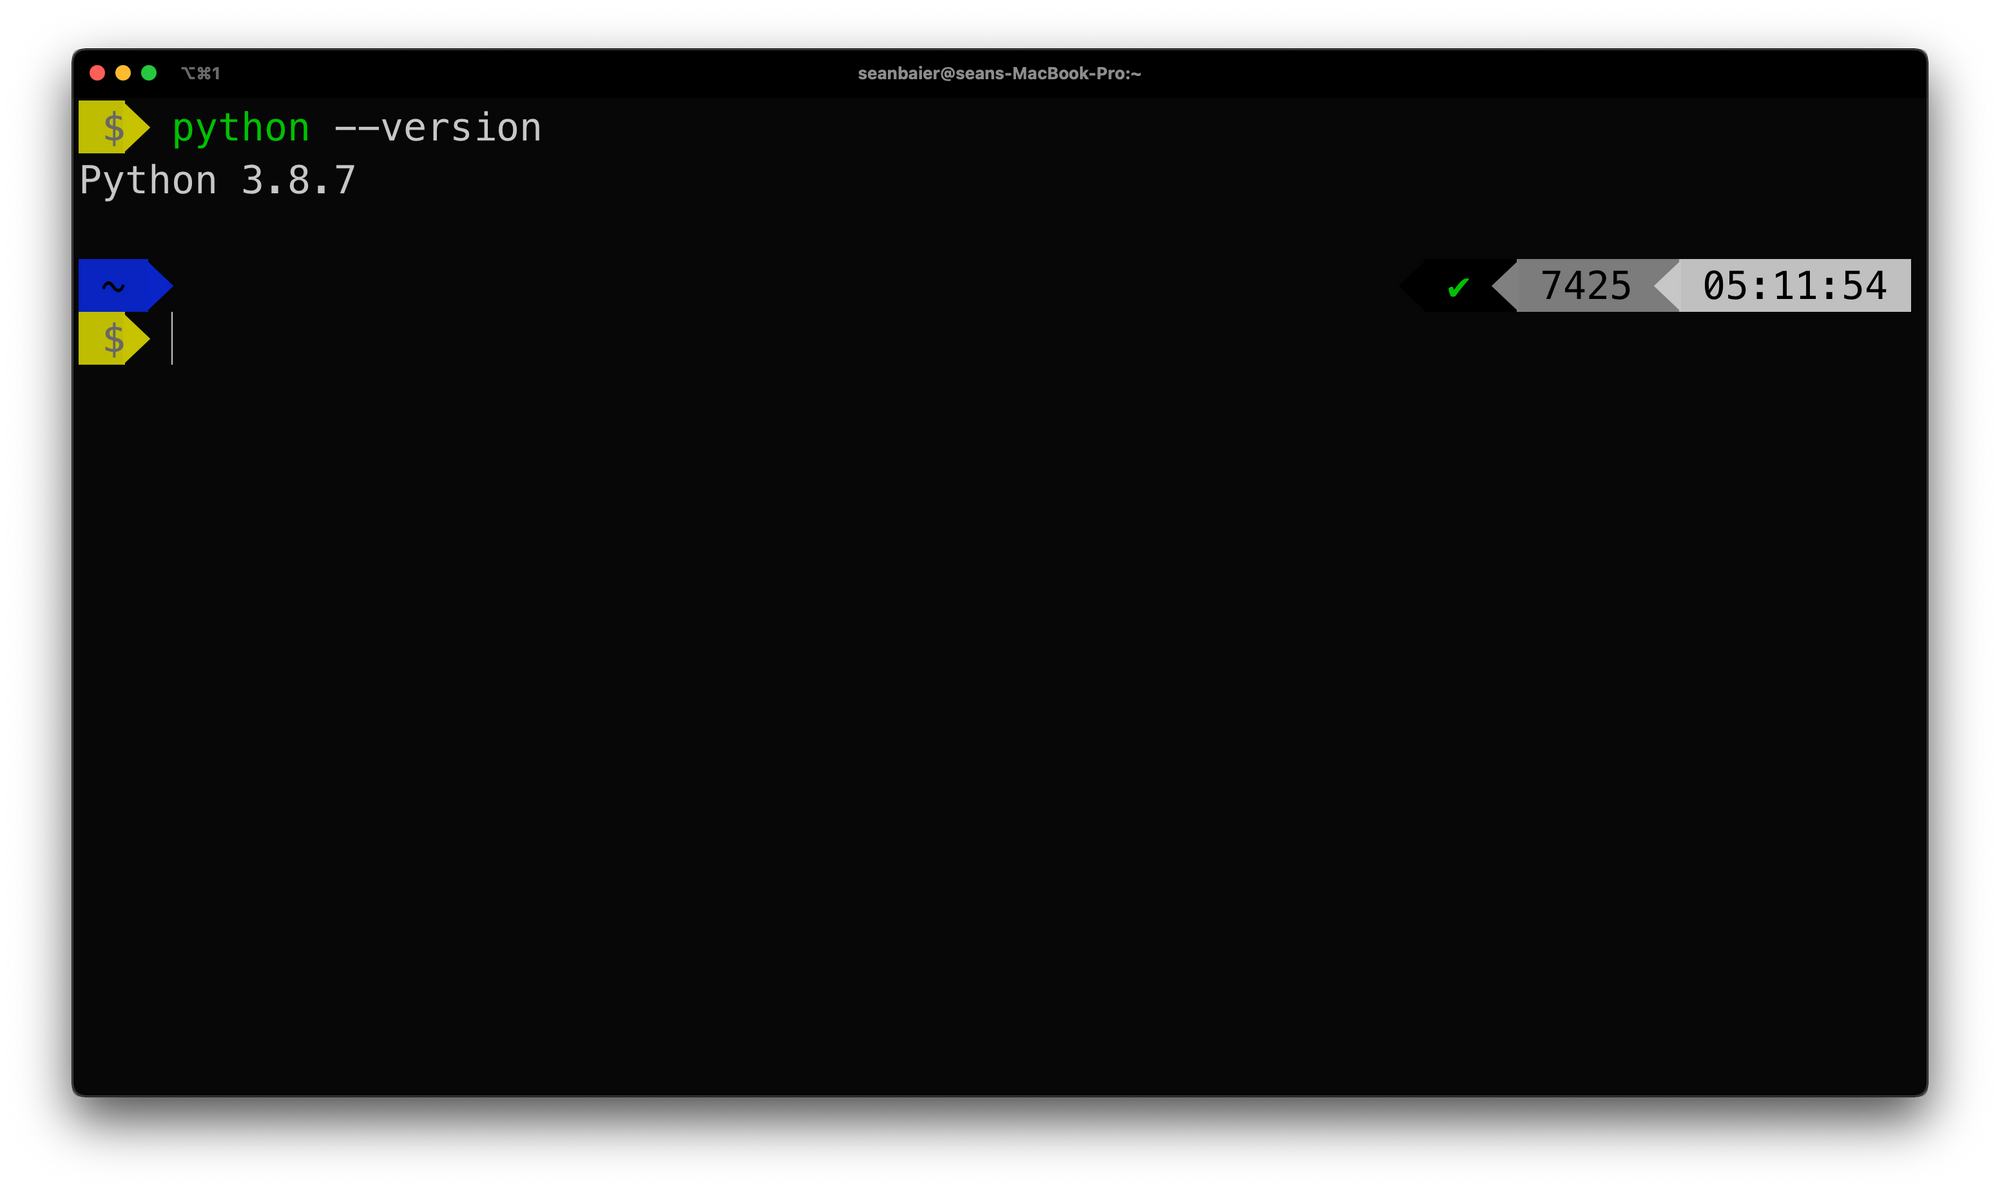
When downloading Python3 this is distinguished by calling it just that, Python3.
python3 --version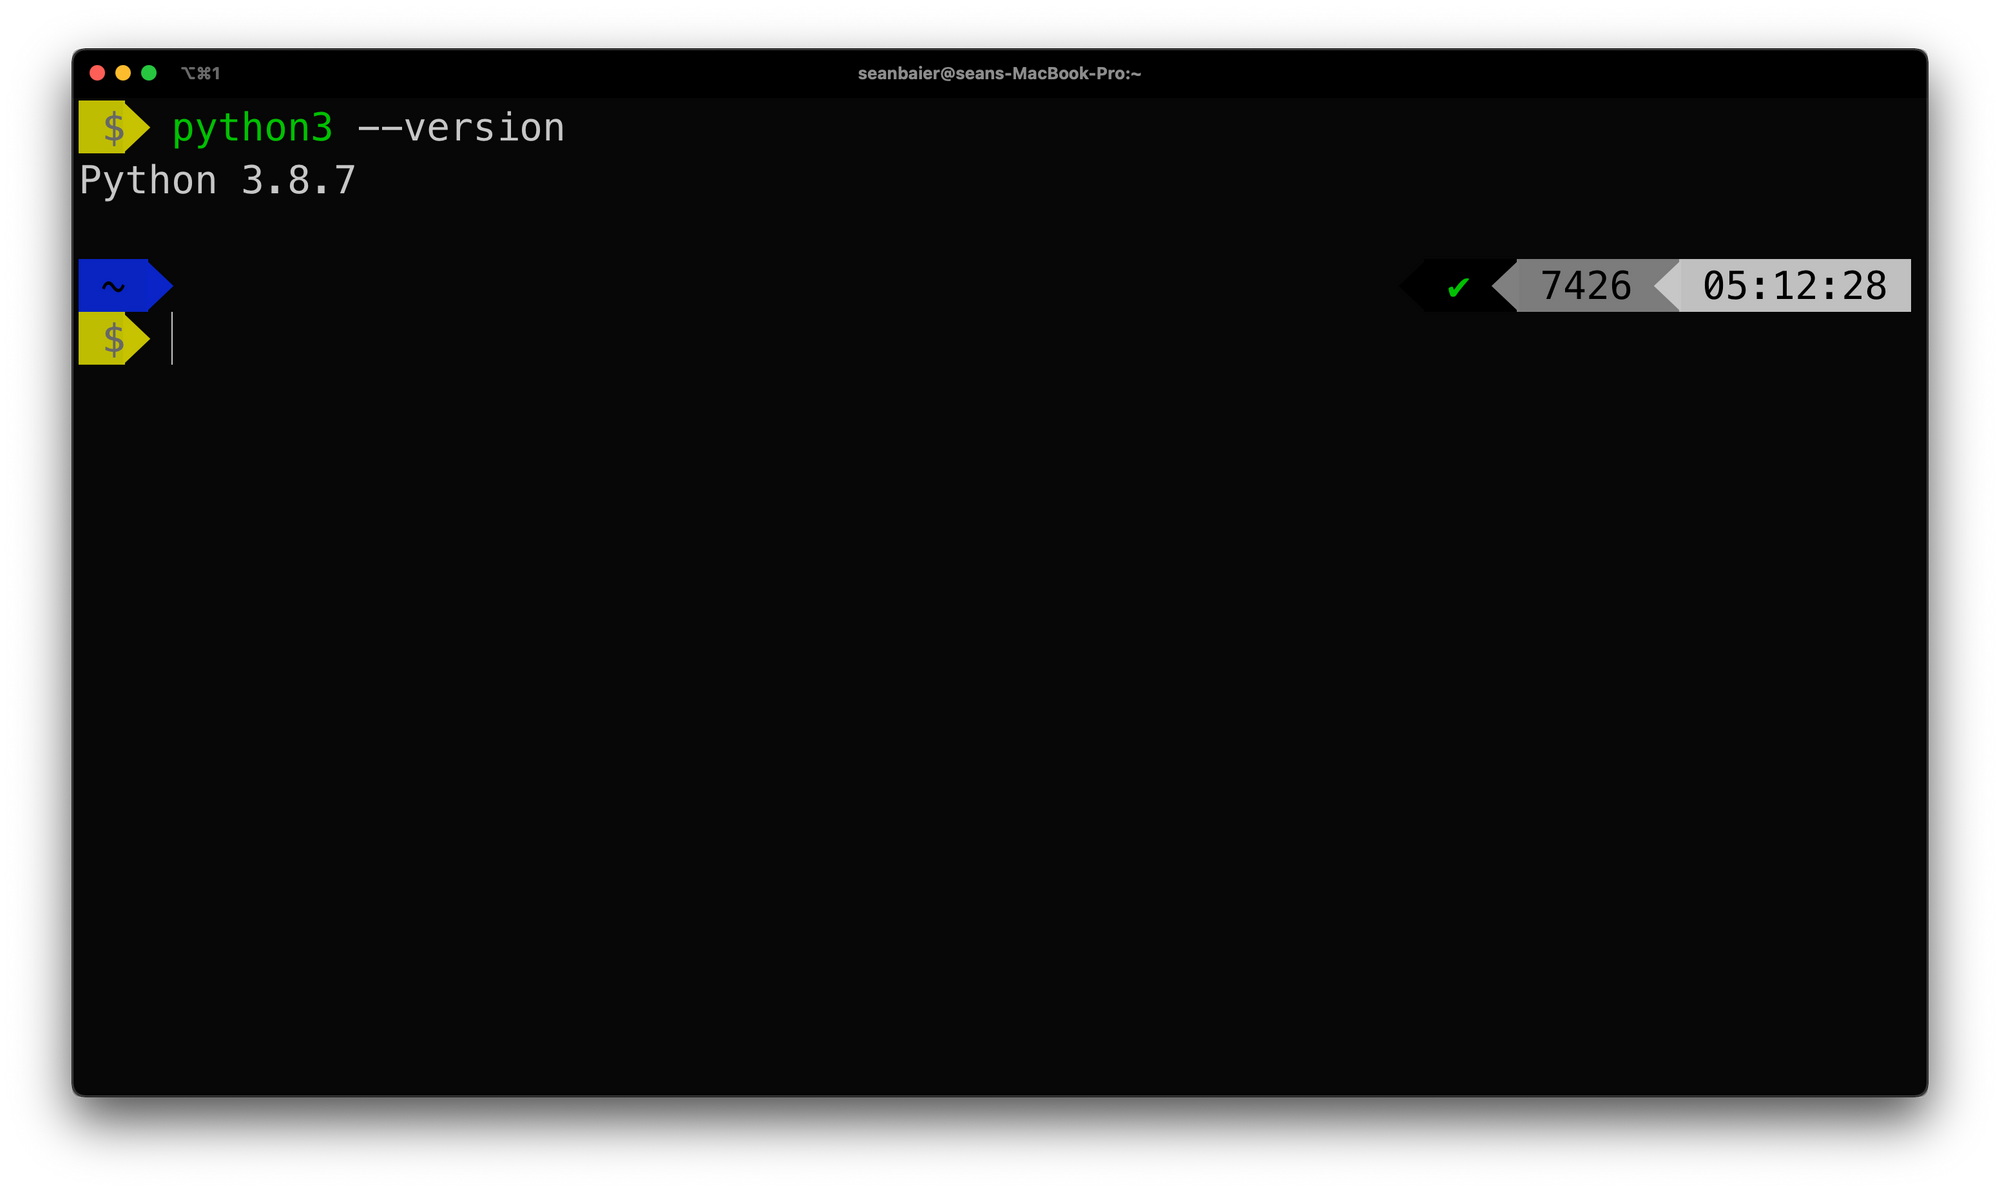
Install Virtualenv on Mac OS
There are multiple ways to install Virtualenv so I will show a couple different ones.
How To Install Virtualenv with pipx
If you already have a Python 3.5+ interpreter the best is to use pipx to install virtualenv into an isolated environment. This has the added benefit that later you’ll be able to upgrade virtualenv without affecting other parts of the system.Virtualenv Documentation
pipx install virtualenv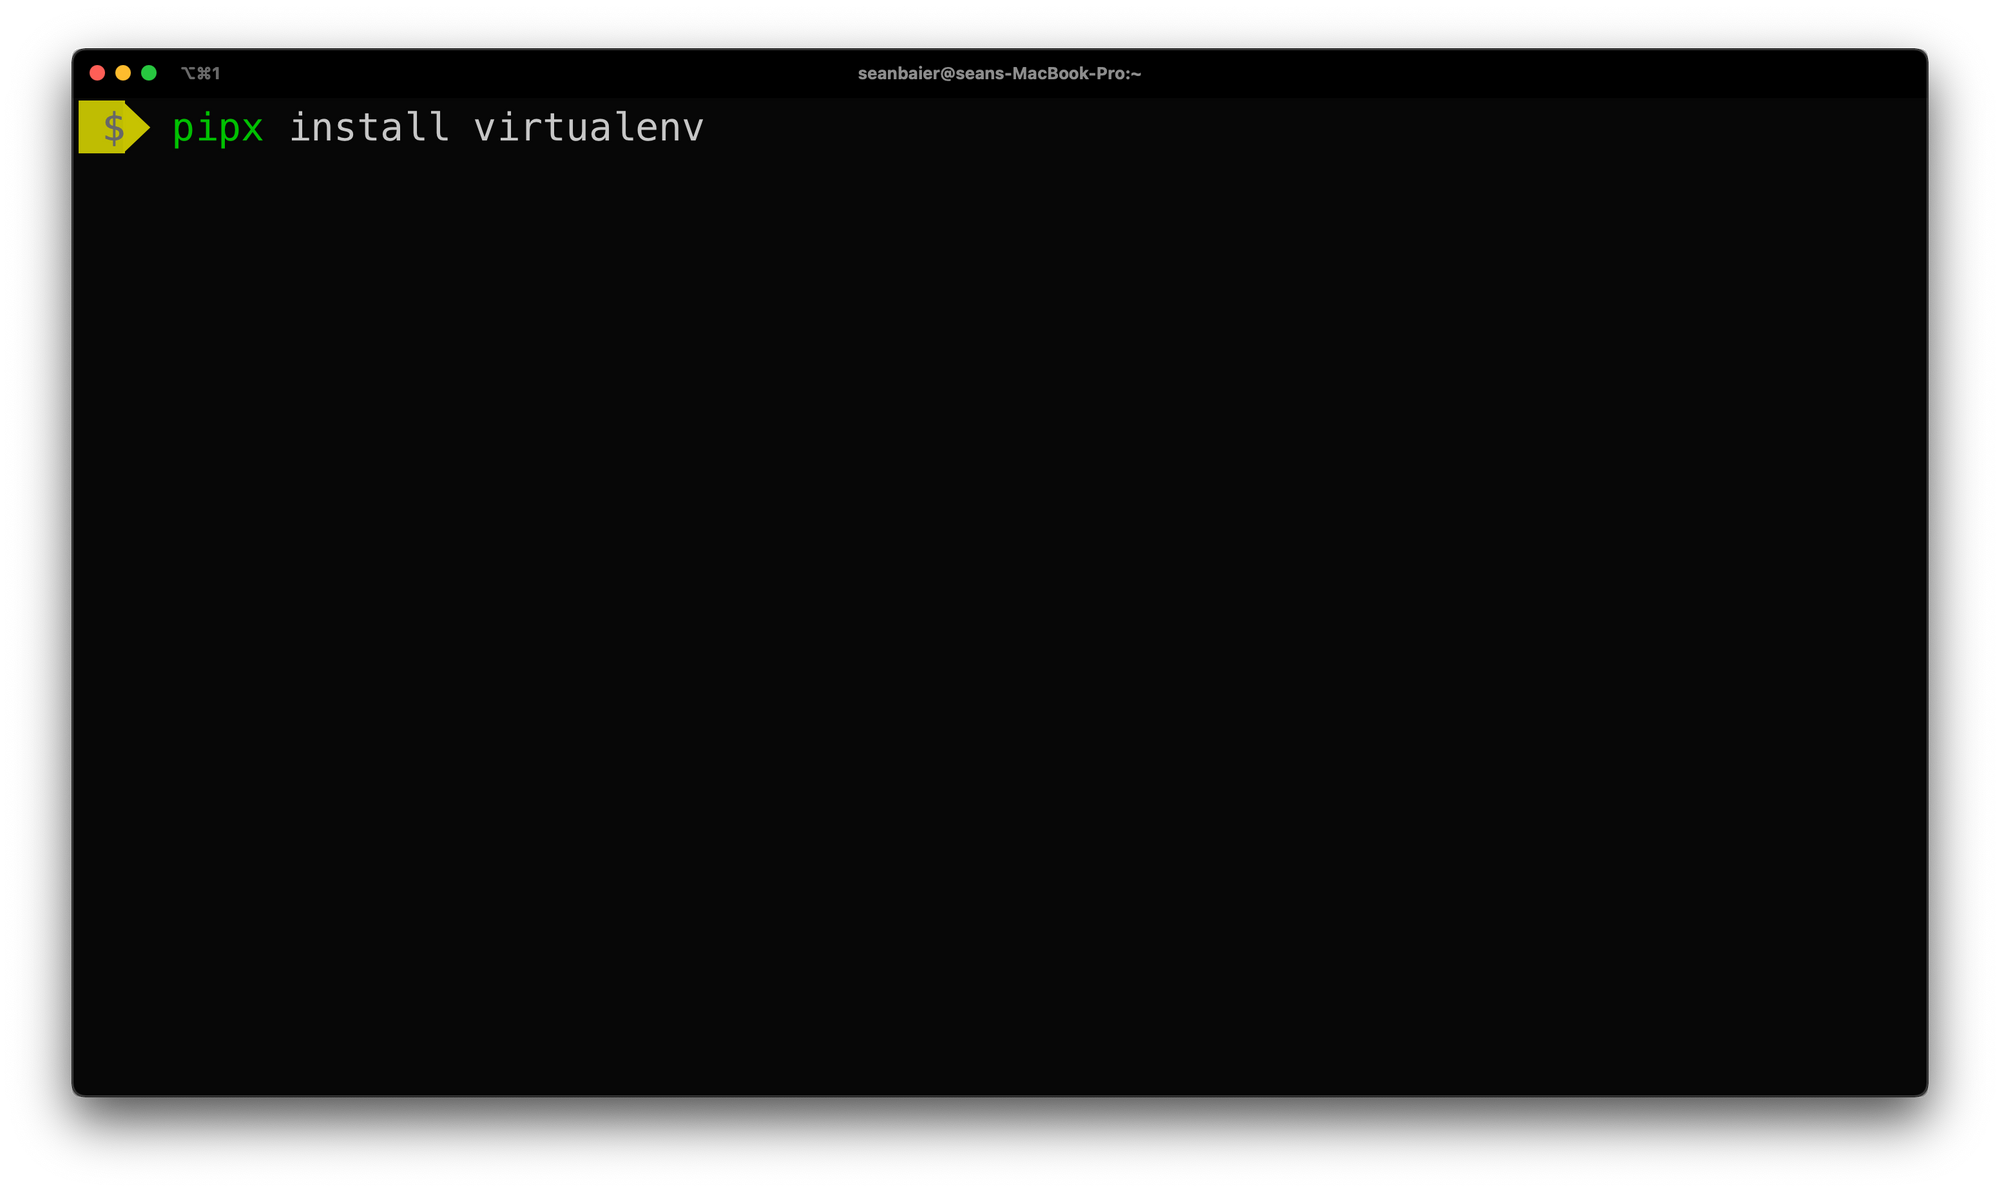
How To Install Virtualenv with pip
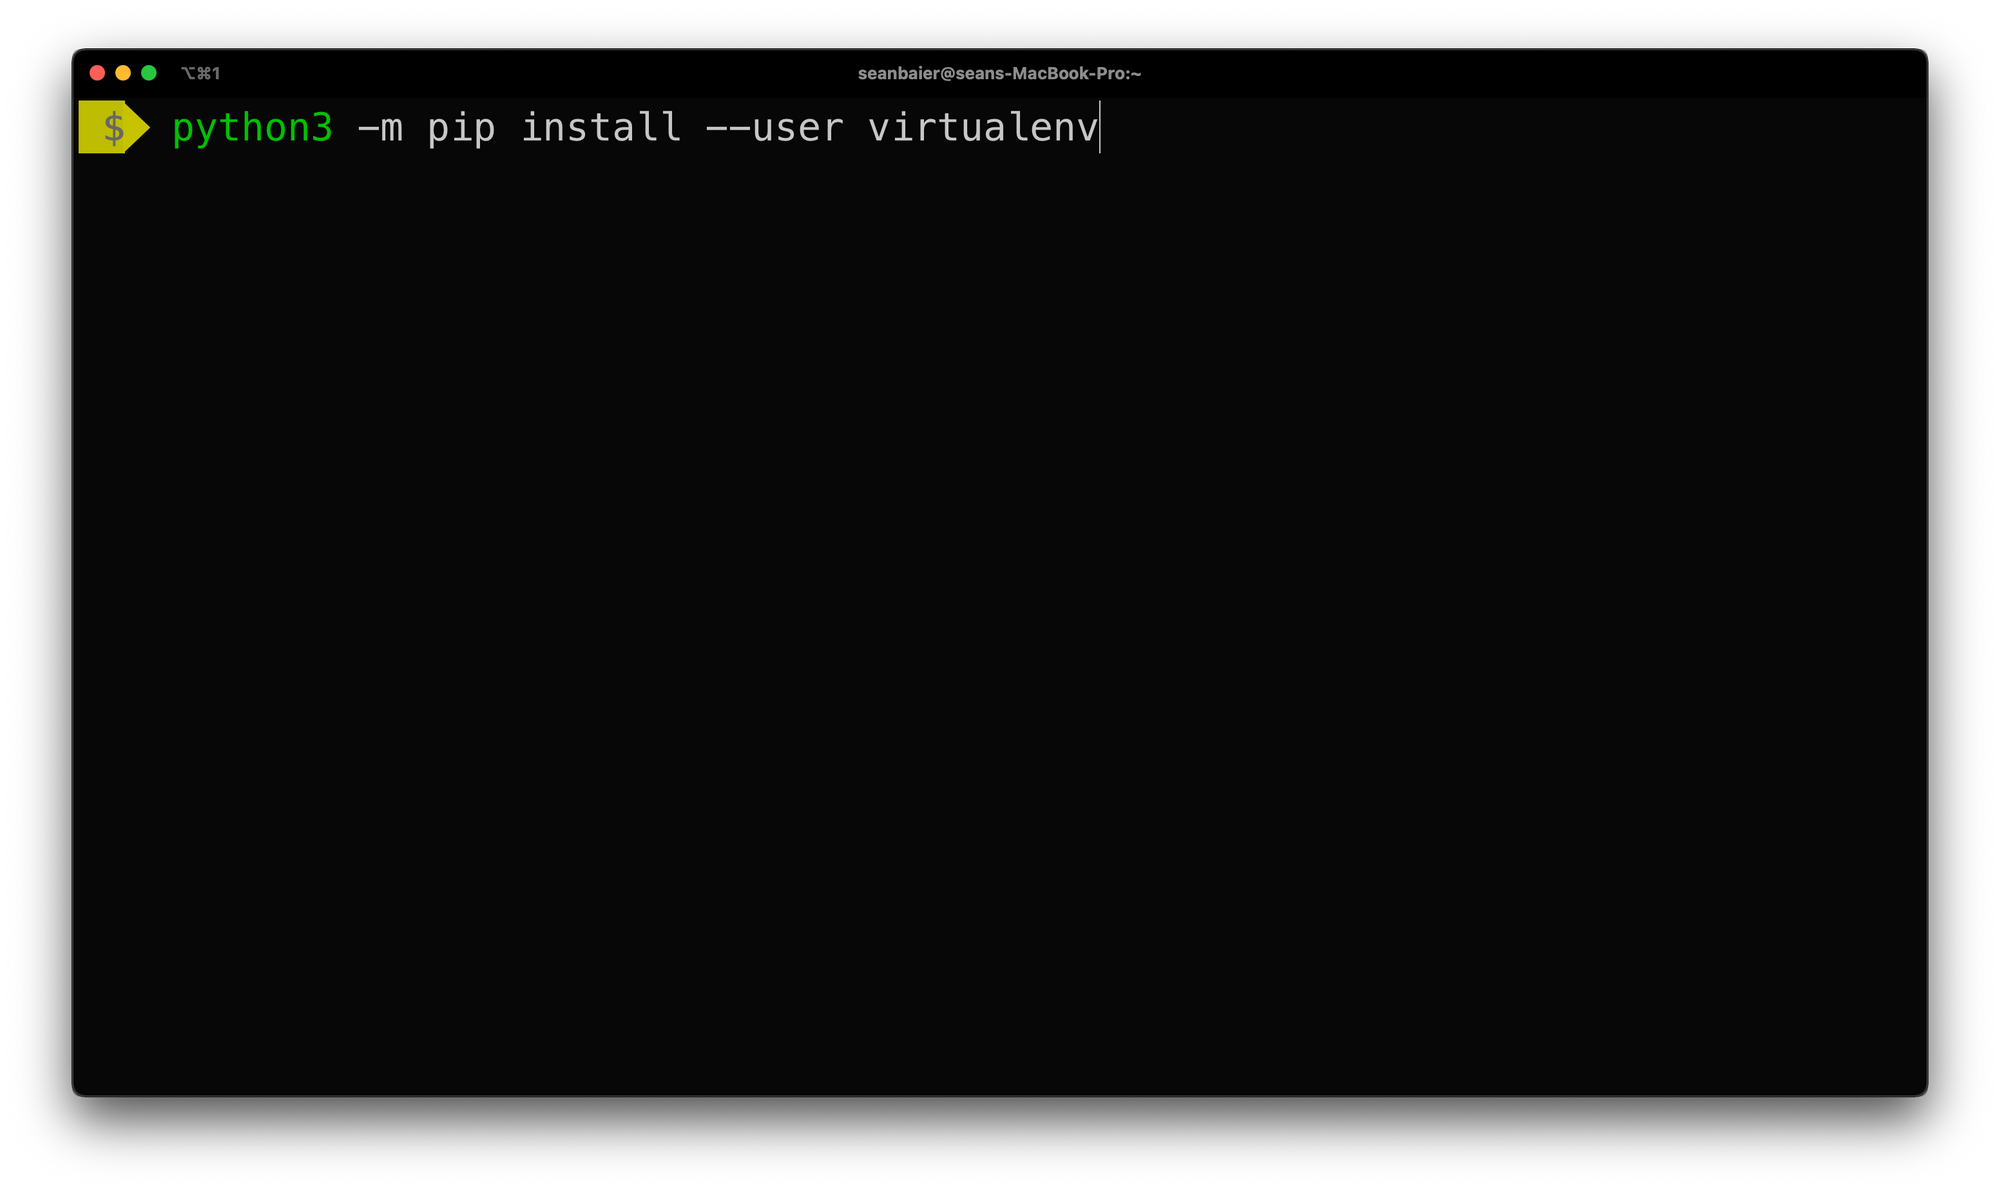
Alternatively you can install it within the global Python interpreter itself (perhaps as a user package via the --user flag). Be cautious if you are using a python install that is managed by your operating system or another package manager. pip might not coordinate with those tools, and may leave your system in an inconsistent state.Virtualenv Documentation
python3 -m pip install --user virtualenvMake sure when using this command you are specifying python3 and not just python
Virtualenv In Action
1. Create a new project folder
mkdir virtualenv-examplecd virtualenv-example2. Setup virtual environment
virtualenv -p python3.7 env3. Activate virtual environment
4. Check which version of Python you have running
source ./env/bin/activatepython --versionIt should be python3.7 or the like.
5. Deactivate the virtual environment
deactivate6. Check which version of Python you are running again. It should now say the old python2.7 version.
Summary
That's it! That is a couple ways i have seen how to install Virtualenv on Mac OS.
I hope you found this walkthrough helpful!
How To Install Virtualenv on MAC OS Video Walkthrough
You can find the video for this and other Web Development tutorials at our Youtube Channel DeadbearCode!
Join the conversation.